If you have been researching ways to print on t-shirts, you’ve certainly come across heat transfer vinyl. This method is cost-effective for very low print volumes, allowing you to do even one-off personalization, and offering custom options such as metallic foil, glitter, or reflective. But how do you create a vinyl decal for a t-shirt?
There are two commonly used ways to make vinyl decals for shirts using heat transfer vinyl. You can use heat transfer vinyl (iron-on vinyl or HTV) that already has a color, cut, weed, and apply your design to the t-shirt. This method creates the color of the design from the vinyl color. The other way, which we shall discuss, uses printable heat transfer vinyl, which is more customizable.
List Of Materials
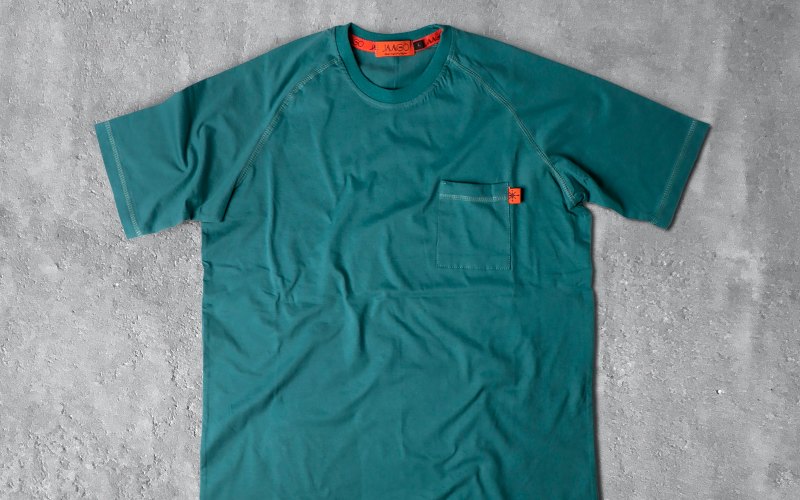
- A t-shirt (preferably cotton, as certain synthetics may not stand up to the heat of the pressing process)
- Dark inkjet printable heat transfer vinyl (even if you are printing onto a light garment). Alternatively, use one designed for both light and dark fabrics. Use sheets of printable heat transfer vinyl for an inkjet printer. Alternatively, you can use printable heat transfer vinyl rolls for a wide format printer.
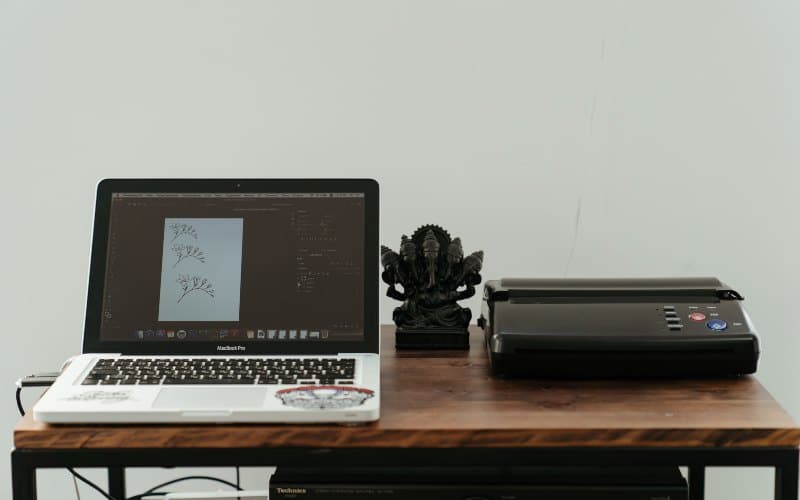
- A computer or laptop
- Cutting machine design software (for example, Cricut Design Space, Sure Cuts A Lot, or Make The Cut)
- An inkjet printer (or wide format printer)
- An electronic cutting machine (such as those made by Cricut, Silhouette, or Brother)
- A sheet of Teflon (or butcher paper – also known as parchment paper)
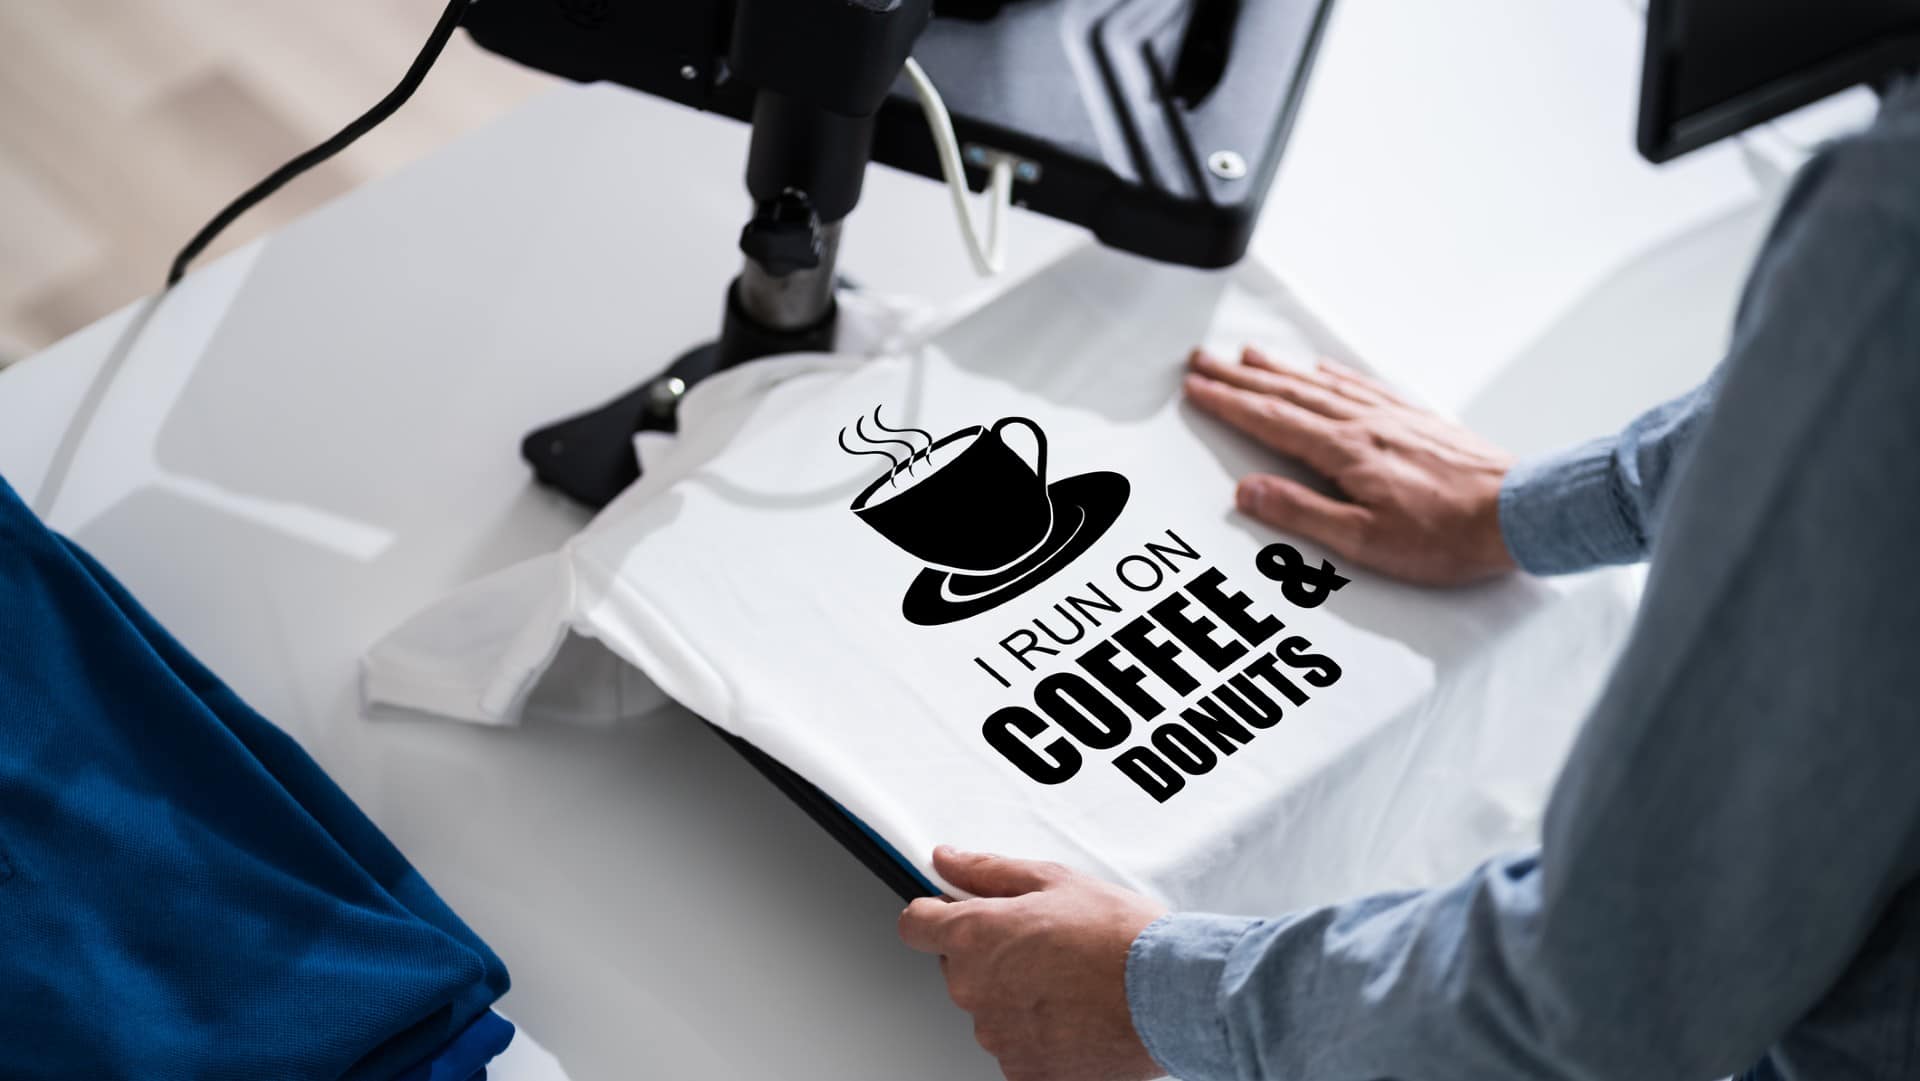
- A heat press (or a Cricut EasyPress)
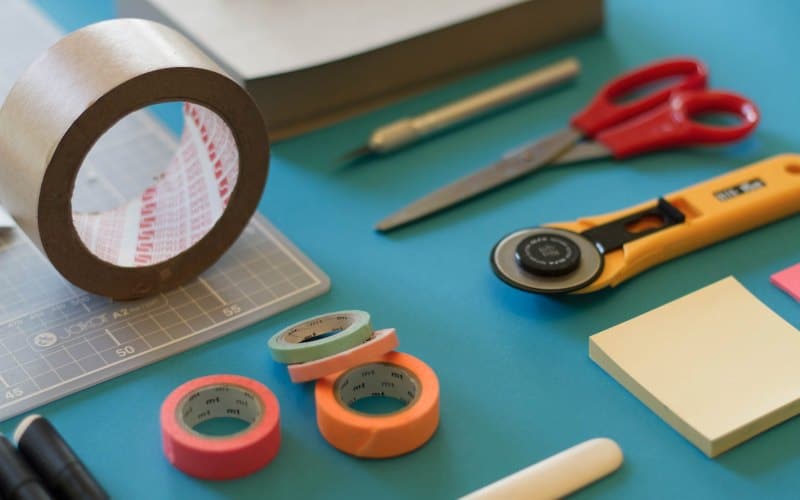
- Curved tweezers (for weeding)
- An X-acto knife (for weeding)
- A hooked weeding pick (for weeding)
- A small signwriter’s squeegee: this has no handle and is shaped like a thick credit card
- A lint roller
- Transfer tape that the manufacturer indicates for use with heat transfer vinyl (for use with multi-part designs)
Step 1: Read The Instructions For The Printable HTV
Every printable heat transfer vinyl brand behaves differently and requires different heat settings, so ensure that you read the instructions first and note what heat you must press it on and for how long.
Step 2: Turn On Your Heat Press
Turn on your heat-press and set it to the recommended heat setting. Heat presses take some time to warm up, so you can get on with the next few steps while waiting for it to reach the required temperature. If you use a Cricut EasyPress, switch it on to warm up to the recommended heat setting.
Step 3: Create A New Project In Your Design Software
Fire up your computer or laptop, open your cutting machine design software, and create a new project. Import the image you will be using for your design, and set the image size to the size you want the vinyl to be on the shirt.
Ensure that the image you are using is legal to use in terms of copyright law, especially if you are planning to sell the resulting t-shirt.
Ensure that you are using the Print Then Cut option (in Cricut Design Space; other software may have different names for this option). Do not mirror your image. Printable heat transfer vinyl is applied image side up and does not need to be horizontally mirrored in the design stage.
Suppose you have decided to use printable heat transfer vinyl for light material, to use on white or very light material. In that case, you will have to mirror it horizontally to ensure that any lettering or other non-symmetrical elements come out the right way. This is because it is applied design side down.
Step 4: Send The Design To Your Printer

Send the finished image to your inkjet printer from your cutting machine design software. Ensure that you turn off the bleed option and set the image quality to its highest setting. Select the option for iron-on or heat transfer for dark materials.
Step 5: Print The Design
Load a sheet of the printable heat transfer vinyl into your inkjet printer, or load a roll into a wide format printer and click print. Wait for the image to print. Some wide-format printers will cut the design after printing it without you having to use a separate cutting machine.
Step 6: Cut Off The Design (If Using A Wide Format Printer)
If you are using a wide-format printer, cut off the design from the rest of the roll of printable heat transfer vinyl, and then advance the roll (if the machine does not do so automatically).
Step 7: Allow The Ink To Dry
Allow the ink of the printed image to dry before cutting it to prevent smudging. This step should not take more than half a minute.
Step 8: Cut Out The Design Using Your Cutting Machine
Place the printed image, with its backing paper, onto the cutting mat of the machine, and press down so that it is held in place firmly. Place it with the design facing upward, not down as you would for regular heat transfer vinyl.
If you use a Cricut, use the blue mat. Place the mat into the cutting machine, select the appropriate setting (everyday iron-on, for a Cricut), and then set the cutting machine to cut out the design.
The cutting machine will read the registration marks of the design and cut around the outside of the image in a couple of minutes.
Step 9: Weed The Design
Remove the cutting mat by turning the vinyl and the mat over and carefully peeling the mat off the vinyl.
Using your weeding tools (the X-acto knife, curved tweezers, and hooked weeding pick), carefully weed the design. Remove all the bits of vinyl that are not part of the design, taking care not to tear the vinyl of the design.
If you are a beginner, we advise that you start with a simple design that does not involve the intricate weeding of tiny areas.
The result you get is the backing paper with the areas of vinyl that are part of the final design.
Step 10: Apply The Transfer Tape, If You Are Using It

Suppose you are creating a multi-part design where the alignment of the various pieces is critical to the look of the finished product, and you do not wish to try positioning each piece of vinyl separately on the t-shirt. In that case, use the transfer tape indicated for use with heat transfer vinyl.
Peel the backing paper from the transfer tape and set it down on your work surface, sticky side up.
Turn your vinyl design with its backing paper over so that the backing paper is facing you, and bend it slightly to create a bulge in the middle. Apply the vinyl to the transfer tape from the center outwards.
Use the squeegee to press it out toward both sides, ensuring that the vinyl sticks securely to the transfer tape and that there are no air bubbles. Use firm, overlapping strokes of the squeegee.
Step 11: Remove The Vinyl Design From The Backing Paper
Carefully remove the vinyl design from its backing paper. If you are using transfer tape, carefully peel the vinyl’s backing paper from the transfer tape. You may need to use the squeegee to grab the edge of the design and to do a final check that there are no air bubbles.
You should have either a piece of heat transfer vinyl ready to be placed on the t-shirt or a portion of transfer tape with several pieces of heat transfer vinyl ready to be placed on the t-shirt.
Step 12: Prepare The T-Shirt For Pressing

Use the lint roller to remove any lint or other debris from the t-shirt. Place the shirt on the platen of the heat press, making sure that there are no creases or folds in the section that will receive the vinyl. Press it briefly to warm it up and make it smooth and ready to take the vinyl.
If you are using a Cricut EasyPress, place the shirt on the pressing mat and use the EasyPress to smooth and warm the t-shirt.
Use the lint roller again to remove any fluff from the shirt. Take care not to create any rucks in the material.
Step 13: Place The Design On The T-Shirt
Place the vinyl design (with or without transfer tape) on the shirt in the position where you want it. Ensure that you center it accurately and that it is not crooked.
Step 14: Press The Design Onto The T-Shirt
Cover the design with a sheet of Teflon or butcher paper to protect the design. Smooth the sheet of Teflon out to ensure that the design is lying flat and to eliminate any folds that the design may have picked up.
Slide in the heat plate of the heat press and clamp it for the length of time that the manufacturer indicated on the instructions that came with the printable heat transfer vinyl. If you are using a Cricut EasyPress, you will need to press down firmly for the indicated length of time.
Step 15: Remove The T-Shirt From The Heat Press

Once the time is up, release and open the heat press or remove the EasyPress from the t-shirt if that is the method you are using.
Let the Teflon sheet cool for thirty seconds to one minute, then slowly pull it off the vinyl. If you are using butcher paper, you can remove it immediately.
Check whether the vinyl has fully adhered. If it is peeling, cover it again and press it for a bit longer until it adheres fully.
Once the vinyl design has cooled, peel off the transfer tape if you have used it.
Your design should now be adhering to the t-shirt.

Frequently Asked Questions
Why Should One Use Printable HTV For Dark Material?
We recommend using printable heat transfer vinyl for dark material, even when creating a decal on a white or very light garment. The colors are less muddy and more vibrant than printable heat transfer vinyl for light fabric.
If you are using printable heat transfer vinyl for light material on a light t-shirt, read the accompanying instructions carefully to see how its use diverges from that for the printable heat transfer vinyl for dark fabric.
A key difference is that the vinyl for light material will need to be printed mirrored. Doing so then affects how you apply the vinyl to the t-shirt. You will need to use it vinyl side down so that the design appears the right way around when you have pressed the shirt.
How Large Can The Vinyl Decal Be With Printable HTV?
There is an upper limit to the decal size you can create. This upper limit will be determined by the limitations of the cutting machine design software you use and the sheets of printable heat transfer vinyl that you use.
With Cricut Design Space, the upper limit for your design will be 6.75 inches wide by 9.25 inches high.
Wide-format printers can send through rolls of printable heat transfer vinyl much wider than the average inkjet printer can accommodate, allowing a bigger decal to be printed (provided the input from the design software allows for such a large design).
For this reason, you may want to invest in a wide format printer. Wide-format printers also sometimes have cutting tools built-in, allowing them to take the place of your cutting tool in addition to your printer. However, these printers are costly.
What Is The Durability Of Printable HTV?
Printable heat transfer vinyl’s durability and adhesive qualities differ from brand to brand, with poor quality vinyl peeling and fading within a few washes.
However, good quality printable heat transfer vinyl will last for years so that you will have satisfied customers. Ensure that you invest in high-quality vinyl.
Conclusion
You should understand how to use printable heat transfer vinyl. To sum up the process: create a design, print it onto the vinyl, cut the vinyl using a cutting machine, weed it, remove the vinyl from its backing paper, and use the heat press to make the vinyl adhere to the fabric of the t-shirt.
As each printable heat transfer vinyl brand is different, read the instructions that come with it carefully before using it. The result you should have as the reward for your efforts is a beautiful full-color vinyl design on your t-shirt.
Bryan E. Robinson is the former owner of TshirtGrowth. He has sold t-shirts since 2006 through dropshipping, screen printing, vinyl printing, DTG, Print on Demand, and more. Bryan has created his own t-shirt designs through Photoshop, Canva, and other platforms, as well as worked with freelancers to create many of his designs. Besides t-shirts, Bryan has over 18 years of experience in online marketing with eCommerce, B2B SaaS, B2C products, and more.


