The best thing about making a custom t-shirt design is that you can add multiple layers of heat transfer vinyl on top of each other to create a stunning design. But, adding many layers of HTV onto your t-shirt can be tricky if it is your first time doing it. So, how do you layer heat transfer vinyl onto your t-shirts?
The first step is to prepare your t-shirt design in your graphics software. Next, print your design onto heat transfer vinyl with an HTV printer. When each layer is printed, layer them individually onto your t-shirt, shiny side facing down. Then carefully peel off each layer to complete the design.
You can layer up to four layers of heat transfer vinyl at a time onto your t-shirt. I’m sure you have questions about layering heat transfer vinyl onto t-shirts. So, I will try and answer your questions in this post.
Layering Heat Transfer Vinyl Onto Your T-Shirt
Here are the supplies that you are going to require:
- Silhouette Cameo 4 HTV Printer (from Amazon, for $299)
- Heat Transfer Vinyl (from Amazon, for $56)
- Heat Press OR
- Cricut EasyPress 2 Heat Press machine (from Amazon, for $149)
- T-shirt Design from the Silhouette Design Store
- Teflon sheet
We will be using the Silhouette Cameo 4 vinyl printer for this post. If you do not have a Silhouette Cameo 4 printer, you could also use a Cricut Maker, which achieves the same thing. With the Silhouette Cameo 4 printer, you will also receive Silhouette Studio and 100 free designs for you to use.
Step 1:
If you are using one of the free designs packaged with your Silhouette Cameo 4 printer, you will need to upload it into Silhouette Studio. Alternatively, if you purchased a ready-made design from the Silhouette Design Store, you need to download your design and import it into Silhouette Studio.
Step 2:
In this step, you will have to cut your designs by color. Load your first sheet of colored transfer vinyl into your Silhouette printer, and start printing your first layer. You will want to add a pause in Silhouette Studio after printing each color to allow you to change your heat transfer vinyl to another color.
Your Silhouette printer will automatically pause after it completes printing each color to allow you to unload your transfer vinyl and load a new sheet. After swopping out your colors, click the Resume button in Silhouette Studio. Repeat this process for every color of vinyl.
Step 3:
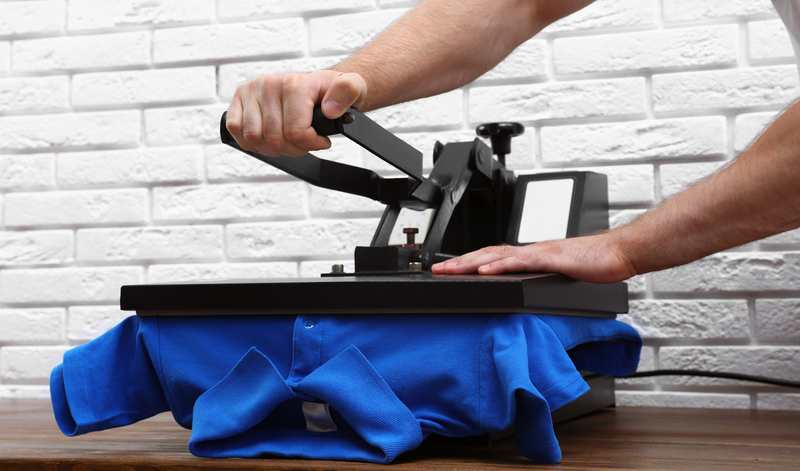
Moisture is the enemy of heat transfer vinyl since it can cause your htv to not stick to the t-shirt. So, to prevent any moisture from spoiling your vinyl, press your t-shirt with your Cricut heat-press for 10 to 15 seconds. Next, lay your first sheet of vinyl flat onto your t-shirt with the plastic backing side facing up. Always start with the largest piece first.
Align your Heat transfer vinyl about two finger widths below the shirt’s neckline.
Since we are applying multiple layers of transfer vinyl onto your shirt, we will apply the “tack it” method, which is “tacking” each layer of HTV onto your shirt for about two to three seconds before applying the next layer.
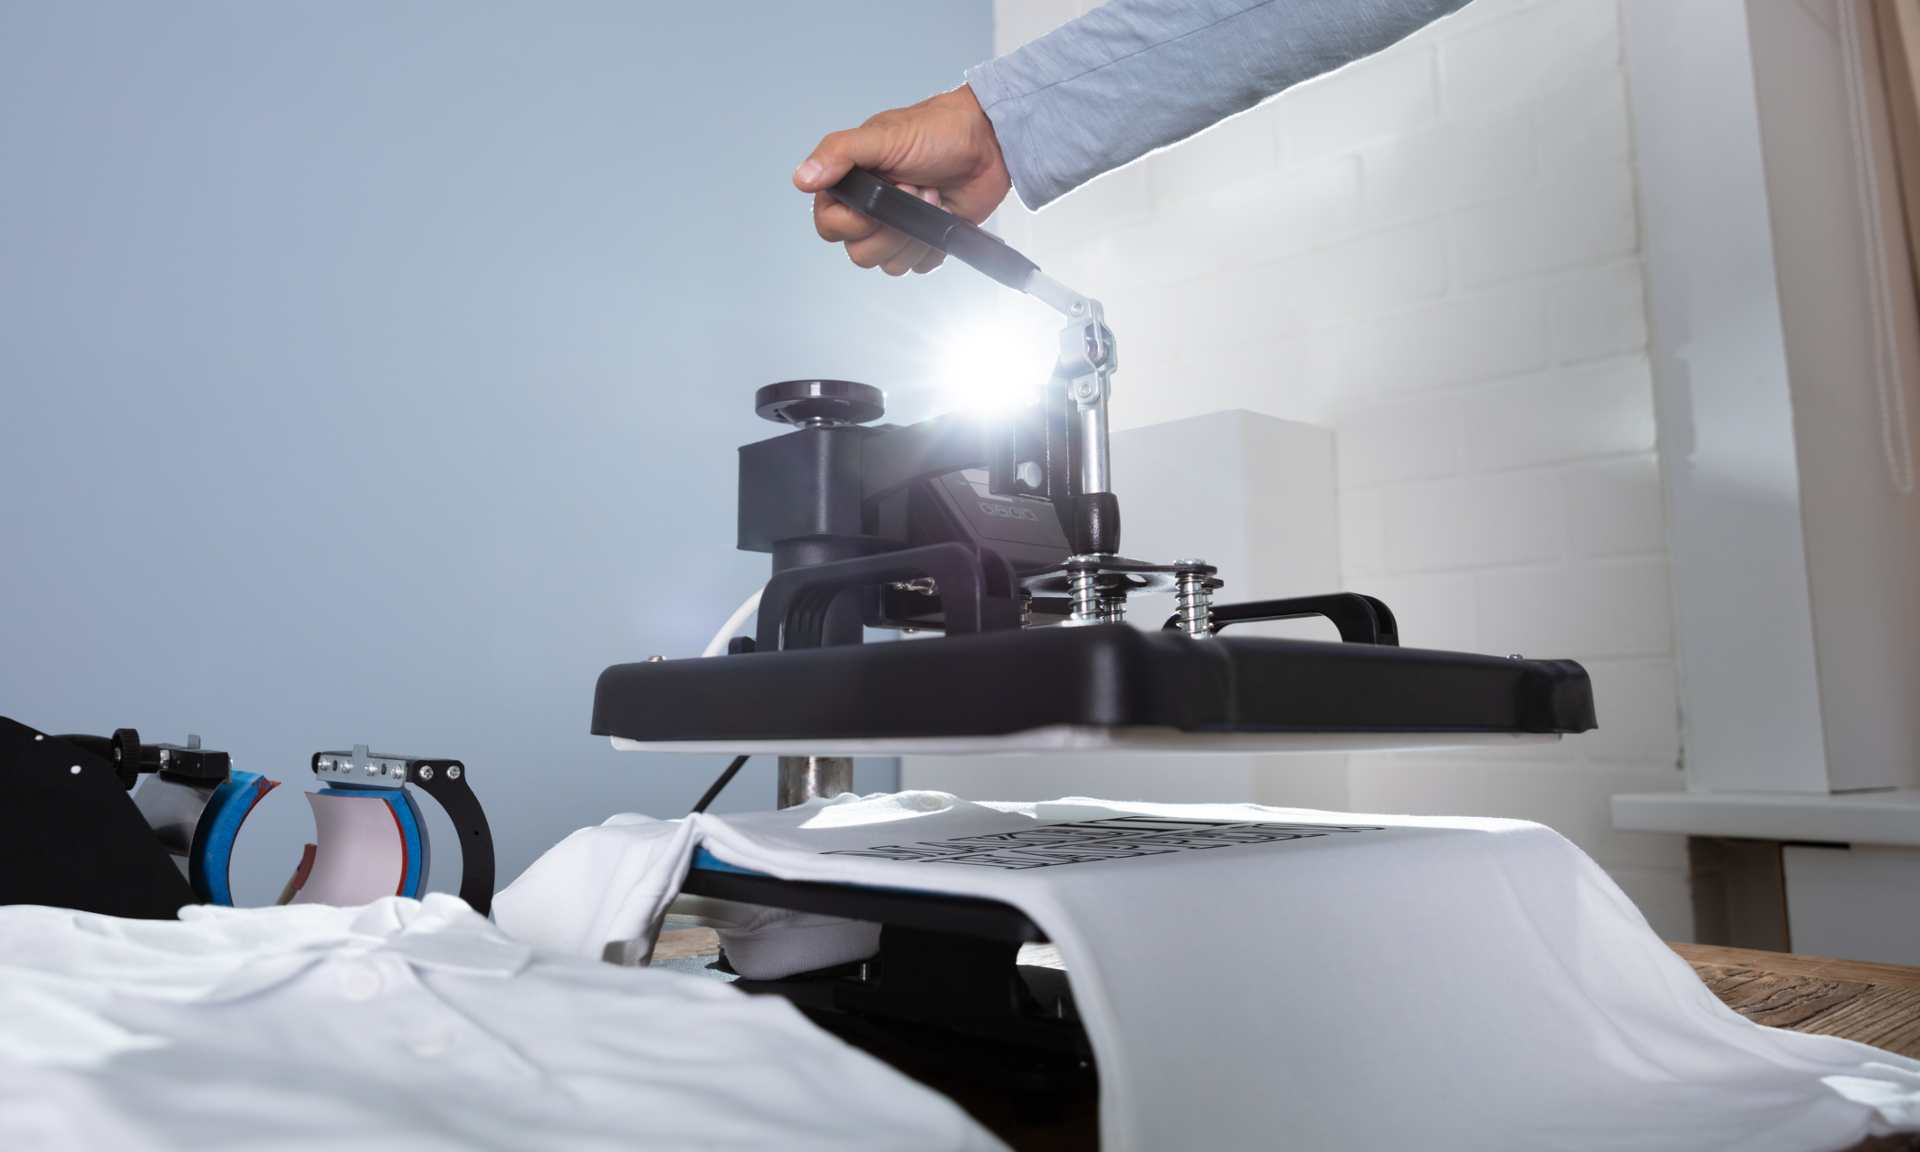
Place your Teflon sheet above the first layer of your transfer vinyl, and using your Cricut EasyPress, press the first layer of heat transfer vinyl onto your t-shirt. Hold it still for about two to three seconds. Remember to press down on the heat press and lift it up directly. There is no need to move the heat press about, like a steam iron.
Once the heat transfer has completely stuck to your shirt, carefully peel away the plastic backing shirt.
Follow this process of applying transfer vinyl for each subsequent layer of HTV that you need to apply onto your tee.
How To Prevent Shrinking Of Heat Transfer Vinyl
After creating your t-shirt masterpiece and heat-pressing it onto your tee, you might have noticed that the heat transfer vinyl has started shrinking in some areas. So, what causes this, and how to rectify it? There can be a few reasons for this occurring, and there are some ways to prevent this from happening in the future.
Heat Press Before Applying Vinyl

Your t-shirt might be moisture absorbant and has most likely absorbed moisture from the atmosphere, which has caused the heat vinyl to shrink after heat pressing it.
One method to prevent this from recurring is to heat press the t-shirt for a few seconds before applying the heat vinyl. This will remove any moisture from the t-shirt and allow the transfer vinyl to stick to the shirt.
Tacking Layers Together
When applying a single layer of transfer vinyl to your t-shirt, you will be heat pressing it for a maximum of thirty seconds. However, if you are applying two or more vinyl layers onto your shirt, you cannot heat press every layer for that length of time, as it could cause the vinyl to shrink around the edges.
Instead, you should “tack” each layer for a maximum of two to three seconds. After applying the last layer, allow it to cool off before pressing it down for fifteen seconds, not longer than this. Following this method will prevent the vinyl from shrinking and give your t-shirt a professional finish!
Use a Teflon Sheet
A Teflon sheet is a relatively cheap and easy way to prevent the transfer vinyl from shrinking. It should be applied to the vinyl before pressing it down with your heat press. The Teflon sheet prevents the vinyl from shrinking and protects the transfer vinyl and your garment from shrinkage.
Also, if the first layer of your transfer vinyl is a colored layer when applied to the shirt without a carrier sheet, it can melt or leave some adhesive residue on the heat press plate. Using a Teflon sheet will prevent the colored vinyl from melting and spoiling your tee.
Apply Glitter Vinyl As A Top Layer
This tip won’t prevent your vinyl from shrinking but is more for the durability of your vinyl and tee. The glitter vinyl is the star of your shirt design, so you should always apply the glitter layer last. The textured surface of Glitter vinyl does not provide for an adhesive surface for other layers and can cause subsequent layers not to stick. So, if you will use a glitter vinyl layer, always apply it as a top layer.
With these simple tips in mind, you should have a better idea of how to layer your heat transfer vinyl on T-shirts.
Conclusion
When applying heat transfer vinyl layers, the general technique is to apply the top layer first, then the middle layer and then any subsequent layers thereafter. If a design is simple, you can often get away with just two layers of vinyl. But for more complex designs (or just extra durable ones), you may need an extra layer or two added.
I hope this information has provided you with helpful advice about how to layer heat transfer vinyl on t-shirts. Good luck and happy creating!
Bryan E. Robinson is the former owner of TshirtGrowth. He has sold t-shirts since 2006 through dropshipping, screen printing, vinyl printing, DTG, Print on Demand, and more. Bryan has created his own t-shirt designs through Photoshop, Canva, and other platforms, as well as worked with freelancers to create many of his designs. Besides t-shirts, Bryan has over 18 years of experience in online marketing with eCommerce, B2B SaaS, B2C products, and more.


