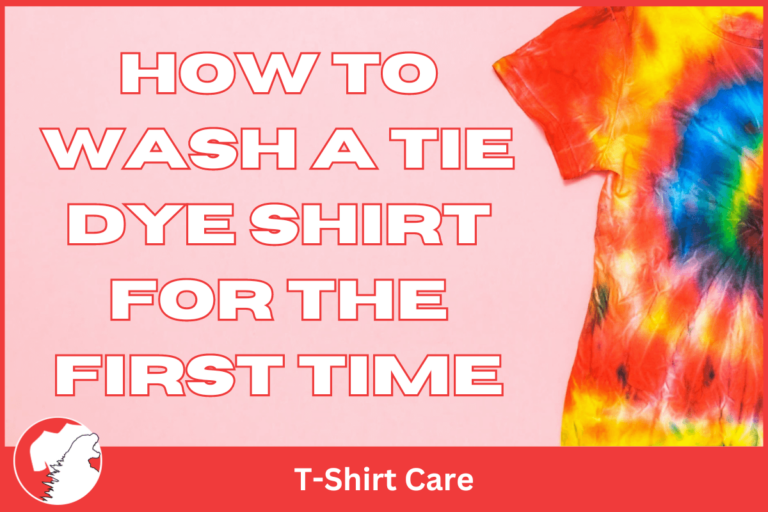
Tie-dyeing t-shirt is a fun hobby and can bea creative way to express yourself. But, to make the best shirts, you’ll need to know how to set and wash a tie-dye shirt for the first time.
To wash a brand-new tie-dye shirt for the first time, you will need to rinse the shirt under cold water. This helps to eliminate excess dye. You can either set your shirt or remove the rubber bands and re-rinse the shirt. Wash the tie-dye shirt using hot water and a small amount of detergent.
By properly setting and washing your tie-dye shirt, you can help it to look brighter and last longer without fading. Whether you’re creating fun designs or trying out a new craft, our quick guide will help you make the best tie-dye shirts around!
Table of Contents
1. Preparing To Wash Your Tie Dye Shirt

After you have had your fun and dyed your shirt, it’s time to start prepping it for its first wash. You will need to ensure that your shirt has been left to steep in the dye for at least 8 hours.
For the best dye results, it’s best to leave the shirt to steep for 24 hours. If you’re as impatient as we are, you can also leave it overnight for a better, more vivid final product.
After the dye has been left to steep, you can take it out of its protective packaging. Be sure to put on some rubber gloves and protective clothing before you remove it, though! You wouldn’t want to stain your clothes or your skin.
It can be super tempting to remove the rubber bands and see how your shirt turns out when you take it out of the bag. This can change the results of the shirt, though, so be careful not to remove them too early! For now, you can keep them on.
Over an empty sink, you can start to rinse the shirt off. Be sure not to leave any clothes or other valuable items lying around – unless you want to give your hand towel a brand-new look!
Rinse the shirt off under cold water and wait until the water runs completely clear. You may need to double-check that you rinsed every bit of the shirt, just in case.
You don’t necessarily have to use your sink, though. You can also lay your shirt down on a flat piece of ground outside and use your hose to rinse the shirt off until the water runs clear. This is probably the best way to avoid an accident with the dye!
If you’re feeling lazy, you could also throw the shirt into your washing machine. You’ll need to put the shirt in alone, though, because any other clothing in the machine could potentially become stained due to the excess dye. You can use a cold-water rinse cycle to ensure that your shirt has been thoroughly rinsed.
Now that your shirt has been rinsed, you can go ahead and wash it. But, if you want your new tie-dye shirt to last longer without fading, you may want to set your shirt first.
If you don’t want to set your shirt, you can go ahead and remove the rubber bands. Now that the bands are off, you can rinse your shirt again using any of the rinsing methods we’ve mentioned. Again, be sure to rinse your shirt until the water runs completely clear.
Once you have rinsed your shirt for a second time, you can hang it somewhere to dry. The shirt will need to drip dry and will be ready to be washed once it has stopped dripping.
2. Setting Your Tie Dye Shirt
As we’ve mentioned, you can skip this step and jump right into washing your new shirt. Setting your shirt can help it to last longer, though, and can stop it from fading too quickly. After all, you wouldn’t want all of your work to have been for nothing, right?
To set your shirt, you will need to keep the rubber bands around your shirt in place. In a bucket, pour in one to two cups of vinegar and fill the rest of the bucket with water. You can then submerge the shirt into the bucket.
Using your rubber gloves, swirl the shirt around for about a minute. Then, leave the shirt to sit for at least half an hour. Once the thirty minutes is up, you can take the shirt out of the vinegar mixture.
Still wearing your gloves, give the shirt a good squeeze to get rid of any excess water.
You may notice that the water left in the bucket isn’t completely clear. Don’t panic, this is totally normal, and is just a result of excess dye bleeding from the shirt.
If you chose to set your shirt before washing it, then you can now remove the rubber bands from your shirt. Repeat the normal rinsing process and leave your shirt to drip dry. Once it has stopped dripping, it’s ready to be washed!
3. Washing Your Tie Dye Shirt

Washing your tie-dye shirt is a crucial step in ensuring the longevity and vibrancy of its colors. After you’ve thoroughly rinsed your shirt twice to remove any excess dye, it’s time to move on to the washing machine phase. This process is straightforward but requires attention to detail to avoid any mishaps.
Firstly, select the hot water setting on your washing machine. Hot water is essential in this step as it aids in setting the dye within the fabric, ensuring that the colors remain bright and do not bleed during future washes. However, it’s important to note that using hot water is most suitable for cotton shirts, as synthetic or delicate fabrics might require a different approach.
When preparing to wash your tie-dye shirt, it’s important to wash it separately from your other laundry. This precaution is to prevent any dye transfer that could potentially stain your other garments. However, if you have multiple tie-dye shirts or items that you’ve dyed with similar color schemes, you can wash them together. This not only saves water and energy but also ensures that any slight bleeding of dye will not affect the overall appearance of the items being washed together.
When adding detergent, use only a small amount of laundry detergent. This is sufficient to clean the shirt without overwhelming it with soap, which could potentially affect the dye. It’s also crucial to avoid using fabric softener during this wash. Fabric softeners can coat the fibers of your shirt, which can interfere with the dye setting process and potentially affect the shirt’s ability to absorb and retain color.
4. How to Dry Tie Dye Shirts

Drying your tie-dye shirt properly is as crucial as the dyeing and washing processes to ensure the longevity and vibrancy of its colors. After your shirt has gone through the washing cycle, carefully remove it from the washing machine to prepare it for drying. The method you choose for drying can significantly affect the outcome of your tie-dye project.
Can You Dry Tie Dye Shirts in the Dryer?
It’s recommended to avoid using a tumble dryer for drying your tie-dye shirt. The high heat from a dryer can cause the colors to fade or bleed, diminishing the vibrancy of your design. Additionally, the tumbling action can cause unnecessary wear on your newly dyed fabric, potentially affecting its texture and overall appearance.
Opting for Natural Drying
The best way to dry your tie-dye shirt is to hang it out to dry naturally. This method is gentle on the fabric and helps preserve the brightness of the colors. Follow these steps for the best results:
Choose the Right Location: Find a well-ventilated area out of direct sunlight to hang your shirt. While sunlight can help speed up the drying process, it can also cause the colors to fade. A shaded, breezy spot is ideal.
Use a Clothesline or Drying Rack: Hang your shirt on a clothesline or a drying rack. If using a clothesline, you can use clothespins to secure the shirt. However, be mindful of where you place the pins to avoid leaving marks on the fabric.
Hang the Shirt Properly: Ensure the shirt is fully extended and not folded or crumpled to avoid uneven drying or creases. If you’re concerned about the shirt stretching, you can lay it flat on a clean, dry towel instead, flipping it over periodically to ensure even drying.
Check for Dryness: Depending on the weather and humidity, drying times can vary. Check your shirt periodically to see if it has dried completely. It’s important that the shirt is thoroughly dry before you wear or store it to prevent any mildew or odor from developing.
Conclusion
Washing your tie-dye shirt helps to complete your project and keep your shirts looking colorful and fun for longer. Now that you know how to wash your tie-dye shirts for the first time, you can keep enjoying your new hobby and create amazing and unique one-of-a-kind designs.