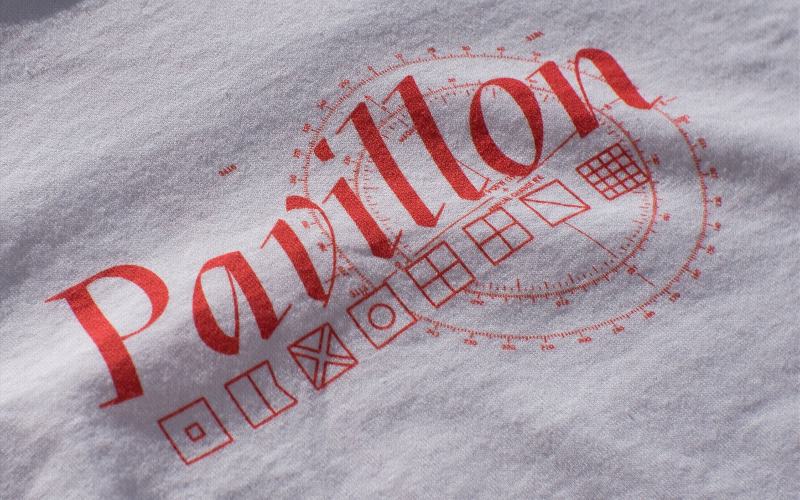
Transfer paper is also known as iron-on transfers, or sometimes even as T-shirt paper; this is because it is often used to put images, text, or even a combination onto t-shirts.
Using heat transfer paper to create shirts is done by printing a design on the heat transfer paper, then heating the design with a heat press or iron to transfer it to the t-shirt.
You may be wanting purely to personalize your wardrobe or looking to create some t-shirts for a family Disney vacation or wedding party and are wondering how to create some custom designs to print on t-shirts.
This can be tricky if you haven’t used heat transfer paper before, so come along as we guide you.
How Is Transfer Paper Applied To Shirts?

Whether purchased with existing designs or blank pages, the transfer paper is applied to the fabric by the inversion of the image and/or text (for light transfer paper). Then you place the graphic onto the shirt, and using an iron, you run over the paper, pressing firmly and evenly.
The same principle is used for dark transfer paper; however, the image does not need to be inverted. The paper should be allowed to cool before peeling it off, which could otherwise affect the imprinting process.
Types of Heat Transfer Paper For Shirts
Light Heat Transfer Paper
Light heat transfer paper is designed for transferring printed designs onto white or light-colored t-shirts and fabrics. Images are normally mirrored before printing on light heat transfer paper.
Dark Heat Transfer Paper
Dark heat transfer paper is designed for transferring printed designs onto darker fabrics. With dark heat transfer paper, the paper (opaque) is used to fill in the light spaces in the design.
Most big retailers and arts and crafts stores carry transfer paper that is prepackaged and ready for immediate use. They usually come in kits, and you get some that only supply the paper, but at other times they might even include a shirt made of the ideal material.
Some of the kits also come with pre-made designs, which can be fantastic especially if you’re just starting this exciting journey.
The Supplies That You Will Need For Transfer Printing

There are two options available to you; as mentioned, one of them is to purchase already made transfer paper, and this is undoubtedly the more convenient route to go and is likely to yield better results. However, you can also make your own paper. So we have discussed the option of prepackaged paper, but now what about creating your own?
Heat Transfer Paper
Our favorite supplier of heat transfer paper is Heat Press Nation. They carry a wide selection of great-looking paper in 8.5″ x 11″ and 11″ x 17″ sizes. Since you can print on heat transfer paper using an inkjet printer, a laser printer, and a sublimation printer, you can buy paper for any of these methods:
How To Guide On Using Transfer Paper On A Shirt

In the following steps, we will take you through what you ought to do as you go to ensure the best possible outcome. Be aware that it may take a few practice-runs to fully handle the ins and outs of using transfer paper on a shirt. Note there is a difference when using light compared to the dark transfer paper.
- First, prepare your graphic on your computer. This is different for light compared to dark; with light, you need to invert the image in whichever image editing software you are using. Also, ensure that your graphic has a decent enough resolution to avoid blurring or poor image quality.
- If you apply the design to a dark surface, you must print it onto dark transfer paper. If you are transferring the image to a light-colored shirt, you must use the light transfer paper (note on dark transfer paper, the color white comes out clear).
- You are then prepped to print your design, but consider printing on regular paper first to ensure that the graphic comes out at the correct size and look for which you are going. This will ensure against the waste of any of the transfer paper.
- Cut out your graphic and try to do so as precisely as possible, trying not to leave any excess, as this will lead to anything white, showing up as white with the dark transfer paper and shiny with the light transfer paper.
- Prepare the surface for the transfer process; this can be done with a large cloth or similar material. Make sure the surface is hard and heat resistant.
- Lay the shirt out and ensure there are no wrinkles or crinkles in the fabric; the best practice would be to actually iron the shirt before placing the transfer paper on it.
- With the dark transfer paper, you peel off the back of the graphic and place it on the shirt with the image facing up. With light transfer paper, you will put it print side down because the image is reversed.
- You then want to take the tissue paper that comes with the dark transfer paper and place it on top of the cutout. This will not be necessary for the light transfer paper.
- For best results use a heat press to transfer the design to the t-shirt.
- If using an iron, ensure there is no water in your iron and that the steam setting is turned off; if there are fabric settings, try to match the setting to the shirt’s fabric. Then begin ironing the image onto the T-shirt. You want to iron for between one and two minutes for best results (note you should use a fabric with 100% natural fibers).
- Allow the shirt to cool for at least two minutes, and then peel off the tissue paper for dark transfer paper and the back of the paper for the light transfer paper.
For visual guides on how to navigate this new venture of yours, you may want to see one of the following how-to videos – Video one is relatively short.
In contrast, video two is longer and offers a more in-depth explanation of the matter.
Next Steps
Heat Transfer Paper provides a super easy way for anyone to get a design on a t-shirt or fabric. This has always come in handy for those baseball tournaments my son played in. We would make some creative t-shirts for his games the night before.
I’ve also used heat transfer paper to create shirts for our family Disney trips and cruises. There’s nothing more fun than having a set of family t-shirts for large groups when you go on vacation.
Whether you are going on a family vacation or a bachelorette party night out, custom t-shirts using heat transfer paper are easy and fun to create. All you need is an idea, a printer, a heat press or iron, and some transfer paper!
Bryan E. Robinson is the former owner of TshirtGrowth. He has sold t-shirts since 2006 through dropshipping, screen printing, vinyl printing, DTG, Print on Demand, and more. Bryan has created his own t-shirt designs through Photoshop, Canva, and other platforms, as well as worked with freelancers to create many of his designs. Besides t-shirts, Bryan has over 18 years of experience in online marketing with eCommerce, B2B SaaS, B2C products, and more.


