Do you have a t-shirt that needs hemming? If you’ve got a sewing machine, this is a very easy project to undertake, and can be done in a matter of minutes!
Hemming a t-shirt with a sewing machine usually involves pinning a straight hem at the bottom of the shirt to the thickness that you want. Once the pins are in place, you can thread up the machine and sew along the hem with an appropriate stitch. Work right around the shirt, and then cut the threads, and you’re done!
Here are the easy steps to hem a T-shirt…
Step 1: Mark The Hem

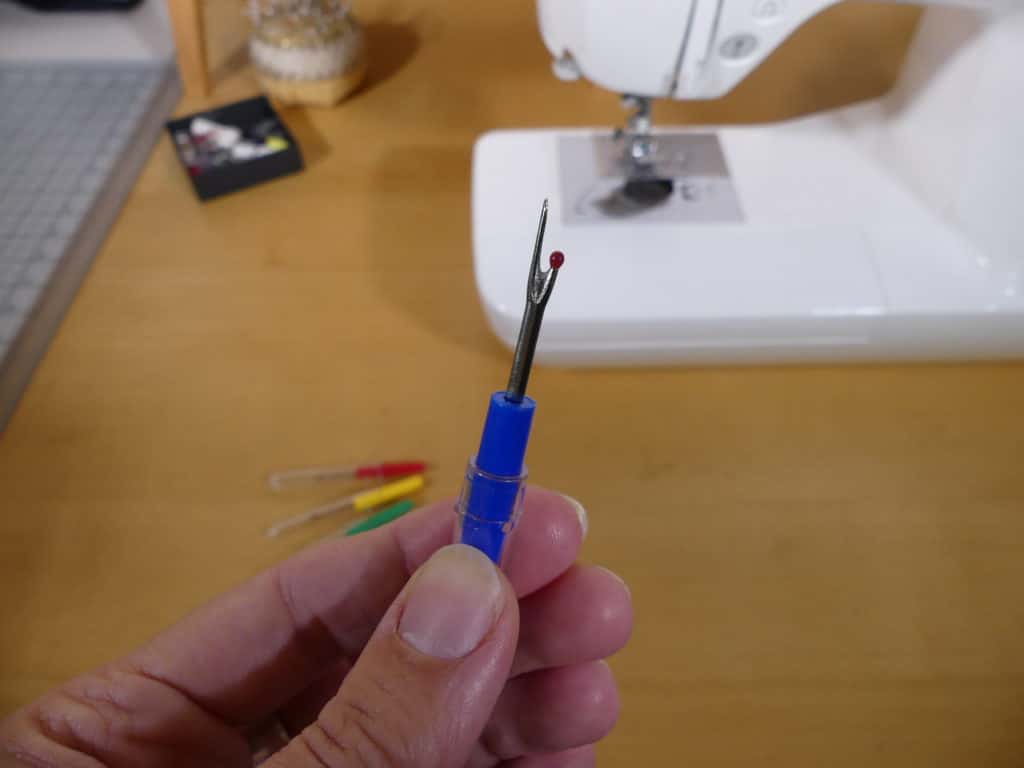
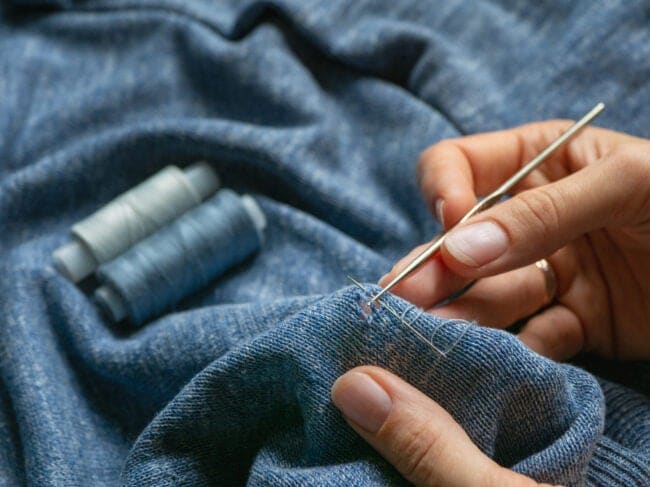
If you’re creating a new hem, you may want to start by removing the old one using stitch rippers, but if you’re hemming a t-shirt that doesn’t have a hem already, you can simply mark the fabric with chalk or a pencil. Do this on the inside.
You may wish to do this while wearing the t-shirt so you can easily see where you want the hem to be. Turn the t-shirt inside out, to begin with, as you will be hemming on the inside. Put the shirt on, and turn the hem up by the amount that you wish to shorten the shirt, create a mark, and then take it off.
Fold the fabric up to the same level all around the shirt, still working on the inside, and use an iron to create a crease so that the fabric stays in place. Make sure the iron isn’t too hot for the fabric the t-shirt is made of.
Check that you are happy with the hem and that it is even all around before you move on to the next step. Getting it right at this stage is crucial for a neat, professional finish.
If you want a really neat hem, you can double-fold it so that the raw edge of the fabric is tucked inside. However, as most t-shirt fabric does not fray particularly badly, it isn’t necessary to do this.
Step 2: Secure The Hem
Once you are happy with the hem, you need to pin it into place. If you don’t do this, you’ll find that it moves around when you are trying to sew it on the machine, in spite of the crease made by the iron.
Take plenty of pins and work your way around the hem, pinning through both layers of fabric so that it is held in place. If you are tucking the raw edge in, make sure that it is firmly inside.
Your pins should be positioned so that the sewing machine needle will be able to go through the fabric at the edge of the hem, so put them close to the middle of the hem. This will allow you to sew past them without removing them all. If you would rather pin close to the edge, you can simply remove the pins as you sew.
Step 3: Set Up Your Machine
When you are ready to begin sewing, set up your sewing machine according to the manufacturer’s instructions. Make sure you are using needles that are suitable for t-shirt fabric, and suitable thread color for the bobbin and reel. The closer your thread color is to your shirt color, the less noticeable the stitching will be.
Set the machine to your chosen stitch once it is threaded. It is generally best to use a zigzag stitch or stretch stitch for t-shirt hems.
Step 4: Begin Sewing
With this done, you are ready to start sewing. Position your t-shirt so that the needle is poised over one of the side seams; this is the best place to begin, as it will conceal the “end” of your stitching. Make sure you are only sewing through one side of the t-shirt, not both sides.
Sew about one inch of stitches, and then reverse the sewing machine and sew back over this inch. Go forward again, backward again, and forward again once more. This over-sewing ensures that the starting stitches are held in place and will not become unraveled. It is important and shouldn’t be skipped, or the thread may come undone from your starting point as soon as the shirt is stretched.
Step 5: Sew Around The Hem

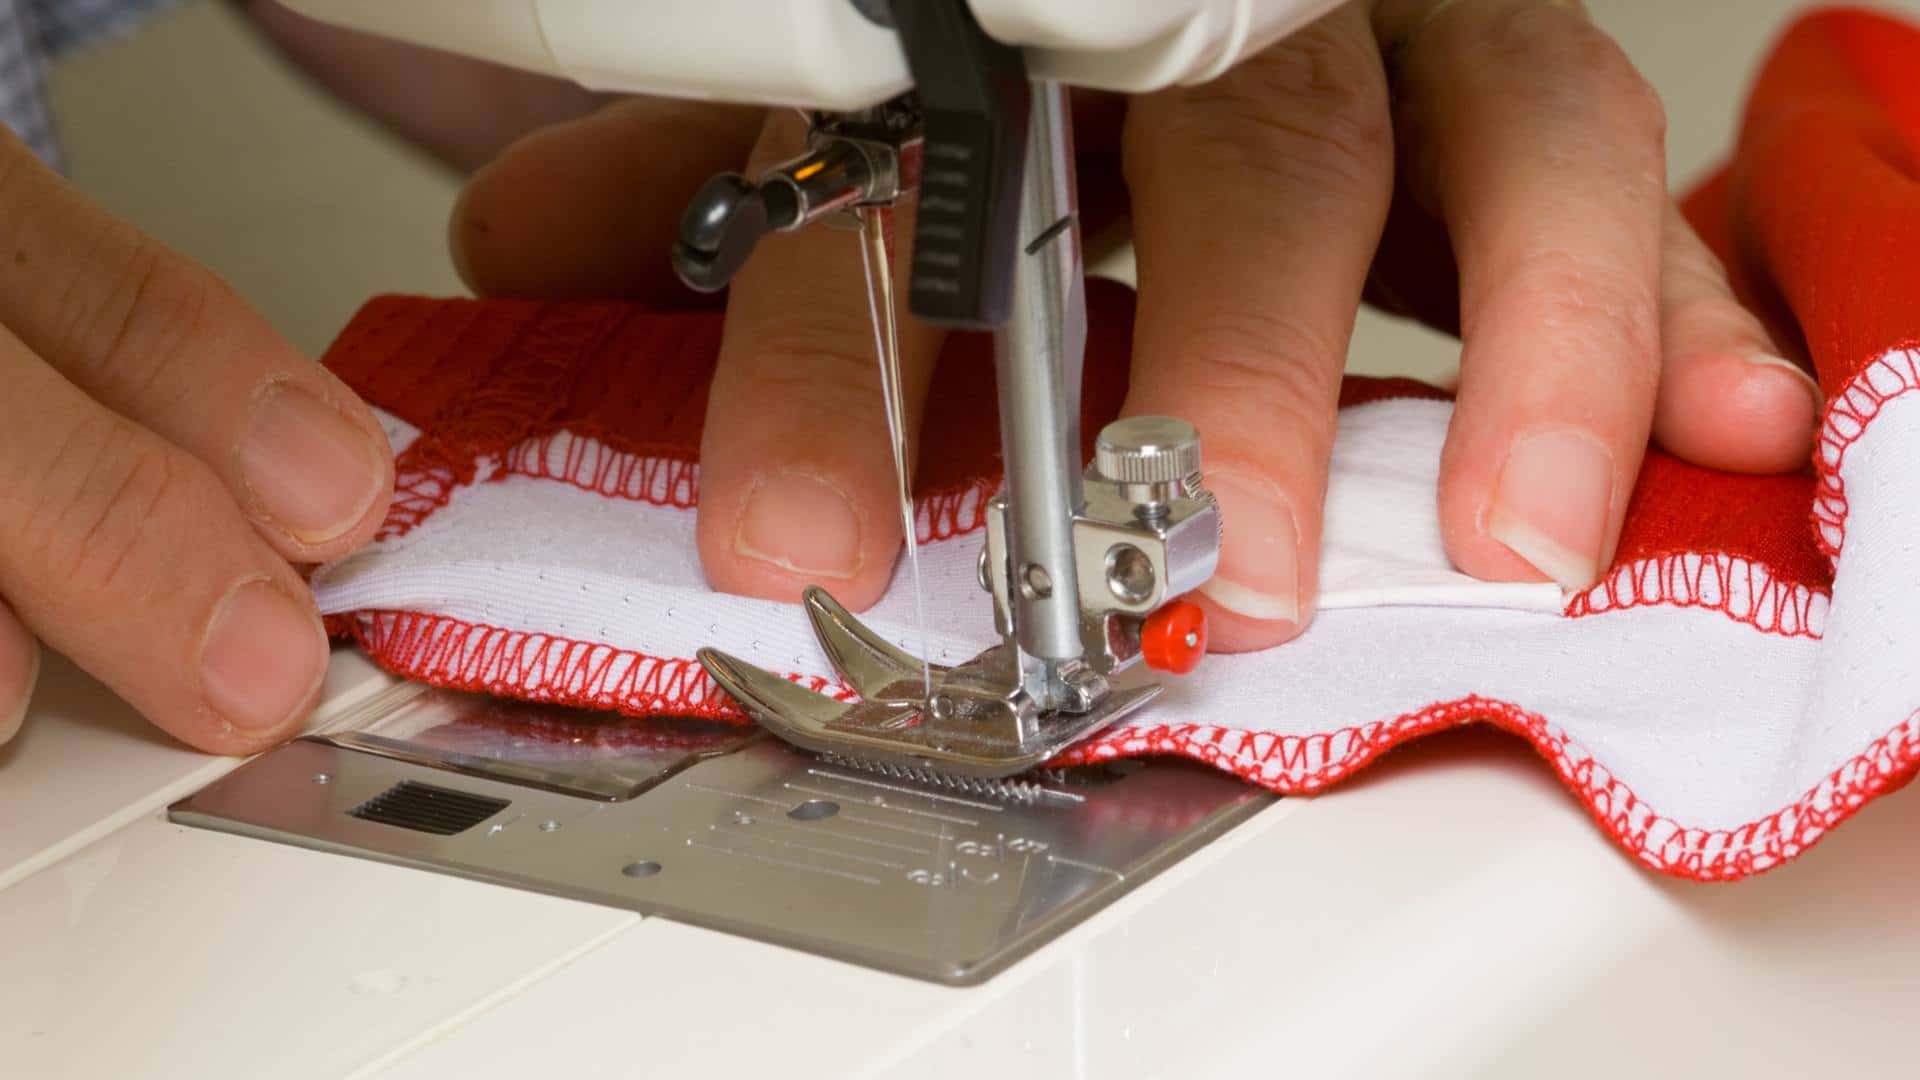
Sew around the hem, sticking as close to the edge of the fabric as you can without veering off it. Sew slowly, and hold the material steady and straight so that you get a neat line. Remember that it will be visible on both sides of the shirt, so it’s important to get it as tidy as possible.
You may wish to occasionally reverse the machine and sew back over some of the stitching. This means that if the thread snaps somewhere, the whole hem will not unravel, and you’ll have less repair work to do.
Remember that if you make a mistake, you can simply take the shirt off the machine, cut the threads, unpick a bit of stitching, and resume sewing. You must over-sew the finishing and starting points if you do this.
When you reach the end of the hem, you should again sew back and forth several times to finish off the stitching and stop it from coming unraveled. Next, raise the foot of the sewing machine and pull the shirt out so that you can cut the threads.
Snip them close to the fabric on both sides of the shirt and turn it the right way in so that you can inspect your work. You should now have a neat, tidy hem that goes around the shirt.
Step 6: Tidy Up

Remove the pins if you did not remove them while working, and make sure that they are all put away safely. Tidy up any remaining long threads on the shirt, and you’ve finished!
Conclusion
You should now have hemmed a shirt, and this is a great project for beginners to try on the sewing machine. It is a fun way to customize your shirts and make sure they fit just as you like, and the technique can be applied to other items of clothing (such as hemming pants legs) too.
Bryan E. Robinson is the former owner of TshirtGrowth. He has sold t-shirts since 2006 through dropshipping, screen printing, vinyl printing, DTG, Print on Demand, and more. Bryan has created his own t-shirt designs through Photoshop, Canva, and other platforms, as well as worked with freelancers to create many of his designs. Besides t-shirts, Bryan has over 18 years of experience in online marketing with eCommerce, B2B SaaS, B2C products, and more.


