Have you ever wanted to use a Cricut machine to cut vinyl but didn’t know where to begin? The excellent news is that it’s fun and pretty straightforward! Furthermore, Cricut isn’t only for crafters; everyone can use it! Now that we are in 2023, let’s take a look at cutting vinyl with your new Cricut machine.
To use the Cricut to cut vinyl, you will need to know what sort of vinyl you want to use for the project and what material or surface it will be applied to. To mention a few more basics, you’ll also need to have the design in mind and understand how Design Space works to begin the process.
One of the limitless things I love about Cricut is that you can embellish the most simple objects and take them to the next level. Furthermore, if you are a beginner, this guide is just for you! That said, let’s have a look at how to cut vinyl with your Cricut machine and achieve great results every time by first understanding what the material is.
What Is Craft Vinyl?
Understanding the material used in any crafting project is a general rule of thumb. Nobody wants to complete a project with it falling apart halfway through; that’s why it is imperative to know what you’re using to ensure it will get the job done smoothly from start to finish. So with that in mind, what is vinyl exactly?
Polyvinyl chloride (PVC) is a popular substance used in creating and clothing production, plumbing, flooring, and various other home items and components. Colored craft vinyl sheets are also famous for a range of creative projects, and vinyl tablecloths are frequently repurposed into handbags and tote bags.
Furthermore, craft vinyl is a versatile and adaptable craft material that may be used to create a wide range of craft projects, such as painted mugs, tumblers, stickers, and decals. While cutting vinyl by hand is possible, cutting craft vinyl with a Cricut machine allows for more accurate cuts and detailed designs.
What Side Of Vinyl Does The Cricut Cut?
I know what you’re thinking, but there is no such thing as a trivial question when it comes to doing something right. That said, all designers had to ask this at some stage, be it from simple observation or from simply asking the question.
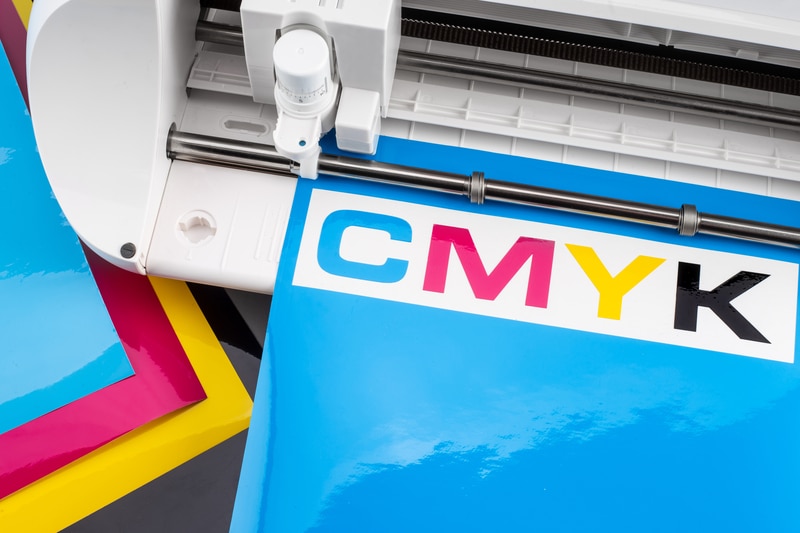
Purely said, while cutting, you should face the shiny side upwards for it to be the first point of contact with the blade. As a result, you don’t want to cut through the carrier sheet, but you want to cut through the vinyl.
The Different Types Of Craft Vinyl
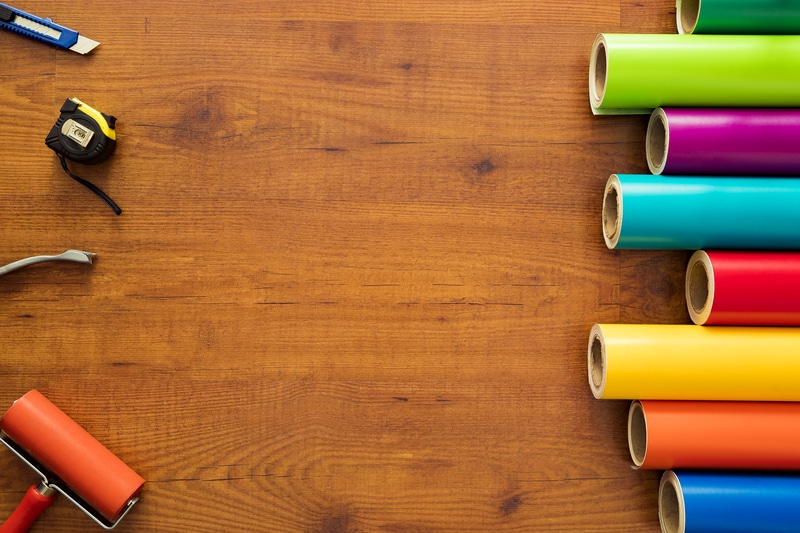
There are two types of vinyl in the crafts world: adhesive vinyl and heat transfer vinyl. Furthermore, although the two are interchangeable, Cricut refers to its heat transfer vinyl as “Iron-On” vinyl.
Like a sticker, adhesive vinyl is applied to surfaces. It features an adhesive backing that uses pressure rather than heat to connect to the surface of your base material.
A heat press or domestic iron is used to apply heat transfer vinyl to fabric surfaces. So rest assured, I’ll discuss adhesive vinyl in this guide.
More On Adhesive Vinyl
We’ll begin by looking at adhesive vinyl. First, you’ll see that your vinyl item comprises two layers. The top layer is made of vinyl, while the second layer is made of paper. The top vinyl layer has a sticker-like adhesive backing, and the paper liner protects it until you’re ready to use it on your project.
The Different Colors And Overall Result
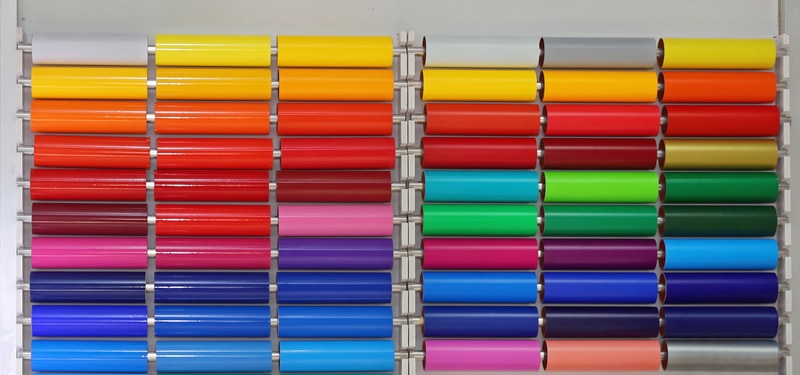
Adhesive vinyl is available in a wide range of finishes and colors. Glossy and matte vinyl, holographic and glitter vinyl, and everything in between are all available.
Different Adhesive Strengths
Adhesive vinyl is also available in a variety of stickiness degrees.
- Vinyl that can be removed
You may remove the temporary adhesive on this sort of craft vinyl without leaving any residue. As a result, it’s ideal for one-time tasks and seasonal decorations. It’s also ideal for wall decals because it won’t harm your paint.
- Vinyl that has a permanent fixture
For a long-lasting connection, this variety of vinyl has a stronger adhesive. As a result, it’s perfect for crafts like mugs, cups, and window decals that will get wet.
The Form Of Application
You may use adhesive vinyl on a variety of surfaces. However, smooth, non-porous surfaces, such as glass, plastic, glazed ceramic, and even painted walls perform best.
Which Type Of Vinyl Should You Use?
The type of vinyl you use will be determined by the base material you use. That is, what sort of thing do you want to use the vinyl decal to decorate? Choose removable vinyl for indoor walls and temporary décor. Choose permanent vinyl for products that will get wet or get a lot of wear.
Using The Cricut Software: Design Space
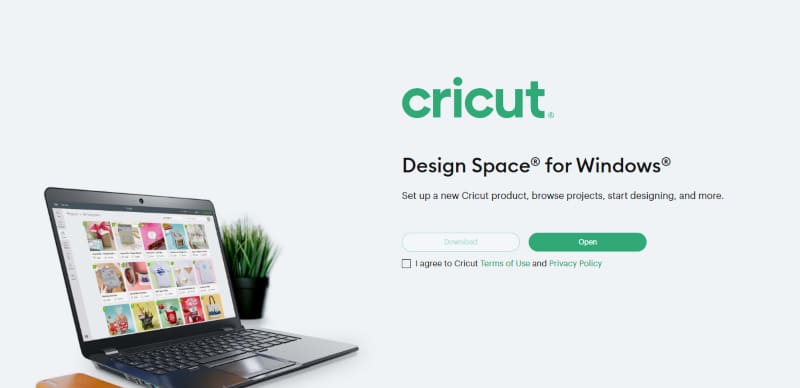
Cricut Design Space is the application you’ll need to design and cut your creations using your Cricut. Cricut Design Space must be installed before you can use your Cricut machine. Design Space, Cricut’s free and simple-to-use design program, comes included with all machines.
Because it’s cloud-based, you’ll be able to access your files from any device at any time. You may start on your phone, continue on your PC, and even work offline without interruptions. You may either create a design from scratch or choose from thousands of ready-to-make projects from there.
Place your material on a mat, insert it into the machine, and hit the Go button. The remainder is taken care of by the machine. Design Space has a plethora of ideas to help you get started on your next masterpiece.
Thousands of photos, typefaces, and ready-to-make projects can be found and experimented on. In addition, because Cricut is constantly releasing new products, you’ll always find something fresh, new, and inspirational.
Cutting Vinyl On A Cricut
Now, let’s get down to business. To cut vinyl using a Cricut, you’ll need the following supplies and instructions. Consider this to be a high-level summary of the entire procedure. The processes are divided into two sections: cutting the vinyl and applying the vinyl.
All The Goods That You Will Need To Begin
- You’ll need the desired adhesive vinyl.
Adhesive vinyl can be purchased by the different sheet sizes or by roll.
- You will need your Cricut machine.
With a mat, all Cricut machines can cut vinyl. Remember that the Explore and Maker series machines can cut more significant designs than the Joy.
- You will need a cutting mat.
Use either the blue LightGrip mat or the green StandardGrip mat for cutting vinyl.
- A weeding tool would be beneficial.
Remove the undesired vinyl bits from the cut pattern using this hand tool. You can use a hook-shaped tool or a needle-shaped tool.
- You would require transfer tape for most projects.
The transfer tape will aid in the removal of the vinyl design from its paper backing and application to the project’s surface. Choose normal strength clear transfer tape for most varieties of vinyl. Strong grip transfer tape is recommended for glitter vinyl.
- You would need a small squeegee tool for application.
Vinyl squeegees are essential equipment for applying vinyl that warrants their own category. Squeegees come in various shapes and sizes to assist you in moving and applying your design as smoothly and evenly as possible.
The Steps Required To Cut Vinyl With Your Cricut Machine
Within the user manual and Cricut’s Design space, you will find that the correct cutting tool used by the machine for each project would be displayed as a requirement. In this instance, when cutting craft vinyl, you would need to place the fine-point blade into the unit that holds the blade in place.
Now that your machine is set up, let’s take a closer look into Cricut’s Design Space software.
- Open up Design Space on your laptop, PC, or Mac.
You would be able to navigate the software to choose from predesigns under the “Products: tab on the left (and samples of the overall result of what they would look like). Alternatively, if you have a certain design in mind, you may design your own project by clicking on “New” at the top left panel.
- Let’s start with loading a small pre-made design file from the “Products Panel.”
I recommend choosing a not-too-complicated design for your first test sample to weed out. For example, a heart or moon is an excellent starting point or a design that does not have too many words.
Once you have chosen the design you wish to start with, click on the design and select “Insert” below the image. The software will now insert the image into the Design Space program.
- Measure the surface you wish to install on—for example, your smartphone cover, a plate, or even a mug.
Now that you have the measurements of the area you would like to apply your design on, you would need to move back to the software and adjust the design measurements. Then, you can resize it by dragging the bottom right icon, and by dragging on that icon, you can maintain the image proportions.
Drag the image size to match the measurements you need. You can find the measurements presented on the measuring grid found on the edges of the design.
- When you have the measurements in place, click on “Make It,” which is found in the top right-hand corner of the software.
Once you click on “Make It,” Design Space will walk you through every step in terms of positioning it on your vinyl, from where it will begin cutting your design. For example, if it is the first time the vinyl is being used, keeping it in the top-left hand corner is perfect.
Alternatively, if that area has already been used, position the design to where the machine can begin cutting vinyl.
- Once you are pleased with the position, click on continue at the bottom right-hand side of the screen.
Design Space will now ask to “Select Base Material.” Next, you can search what type of material you have by clicking on “Browse All.” This option is for the machine to automatically set the cutting pressure and other excellent features that the Cricut comes with to assist with cutting different types of vinyl.
- Get your vinyl and cutting mat ready.
Your cutting mat has a sicky feature that holds your vinyl in place. Following the grid, place your vinyl on the mat. Start with the corner, and from left to right, paste your vinyl down the left and top sides of your grid with light pressure. It would be best to ensure that no bubbles accrue during this application.
Once completed, place your cutting mat and vinyl into the Cricut machine. It simply slides right into the grooves in the front of the roller. Please don’t force it any further after it makes a sudden stop.
- Once your cutting mat and vinyl are placed into your machine, you may go ahead and tap on the flashing button found below the power button.
The machine will now detect the tool, mat, and material when you tap the button. It will also detect where the vinyl is placed compared to where you had positioned it on the software.
- Finally, you may now tap on the blinking “C” button on the Cricut.
The machine would now begin cutting your design, well-done! Depending on the detail of the artwork you chose, the machine may take some time to complete the cut.
Weeding The Vinyl And Applying It Onto The Surface

Now that you got the technical side of the project down, the next step is to weed out the vinyl parts that do not belong to the design, apply backing tape, prep the surface you wish to apply the vinyl on, and finally, the installation. That said, here are the steps to see the magic happen.
1. Once completed, remove the cutting mat from the Cricut machine, and use a vinyl squeegee to fortify the cuts on the cutting mat.
On the flat side of your vinyl squeegee, and from right to left, apply a little bit of pressure and wipe down and smooth the areas that have been cut. You may also use a credit card if you don’t have a vinyl squeegee.
It helps reinforce the design cut onto the vinyl’s backing paper for a more straightforward weeding process.
2. Remove the vinyl from the cutting mat.
The cutting mat has now played its role. You can peel off the vinyl easily from the mat, from one end to the other, to prevent any curls.
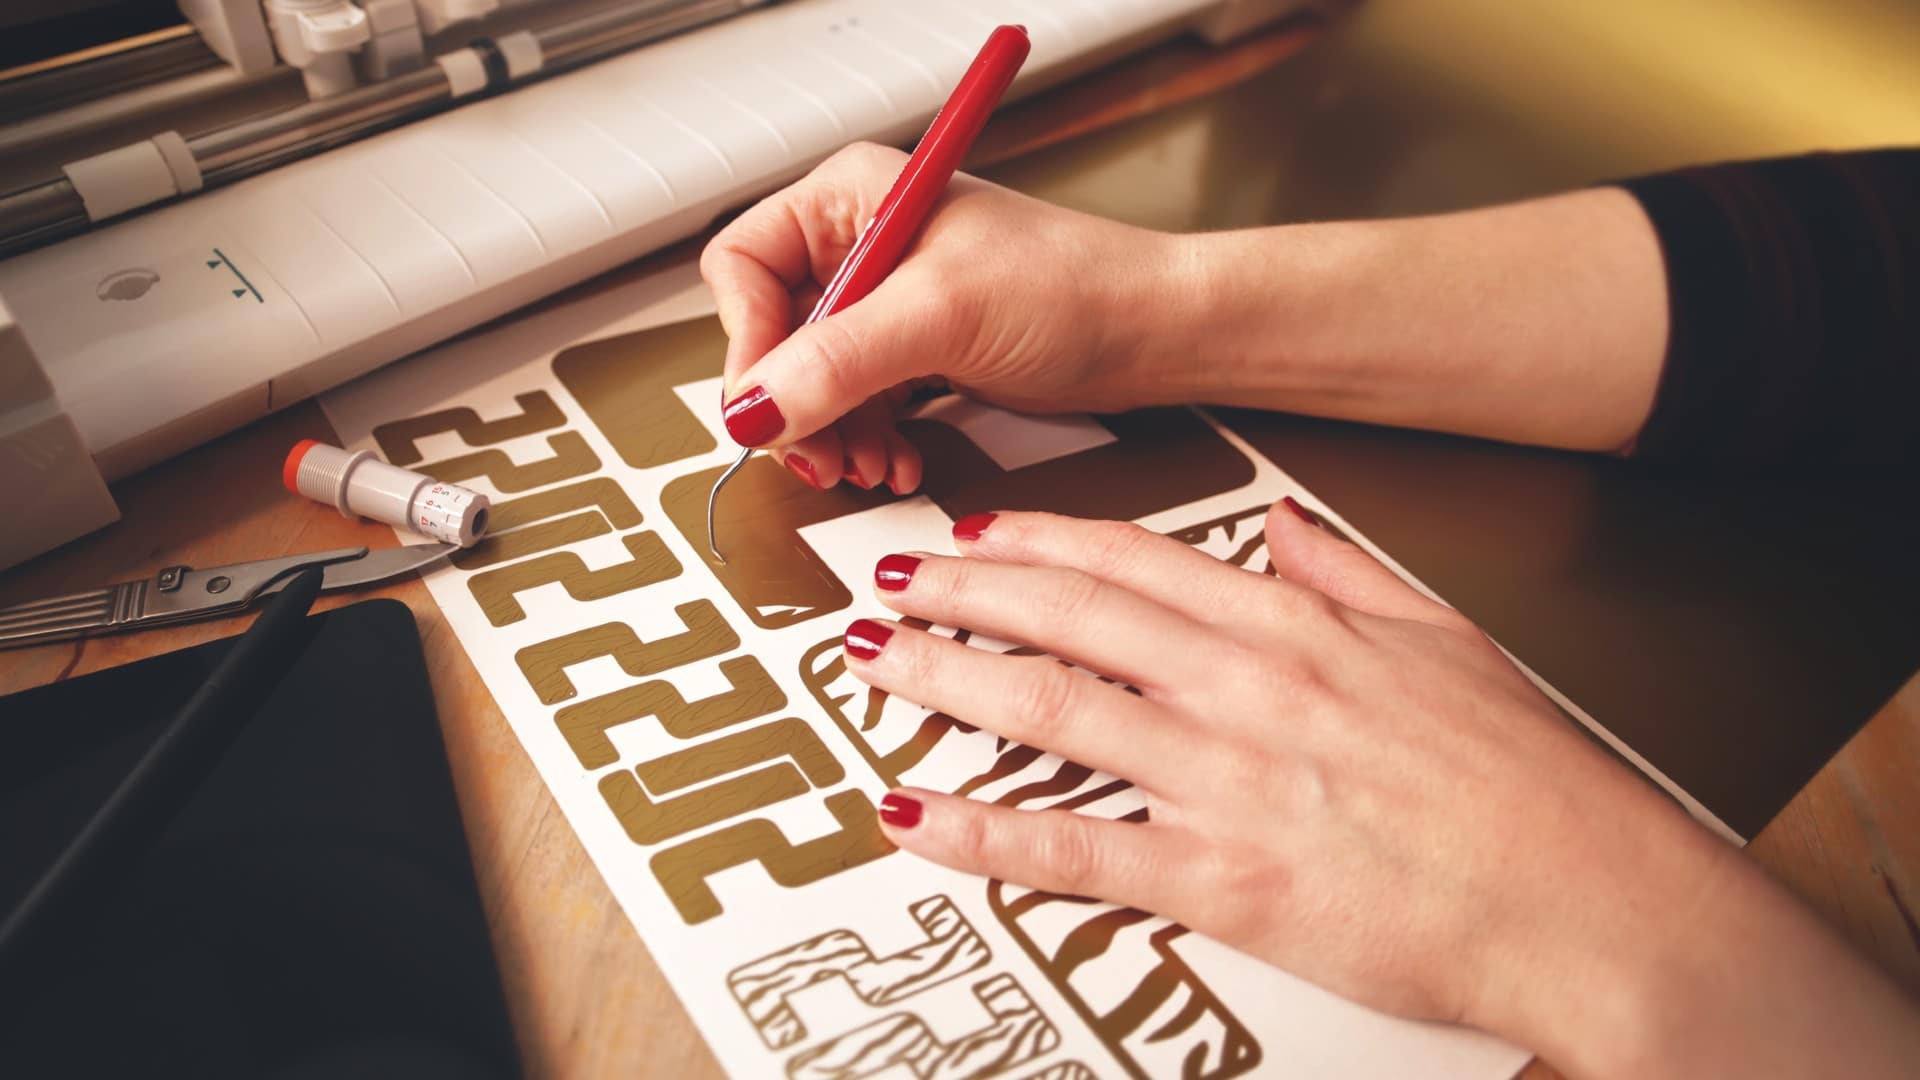
3. Use your weeding tool to peel away any vinyl that is not part of the design.
It is now the weeding tools turn to shine! With the tool’s hook, lift the vinyl from the top-left hand corner that is not needed and slowly peel away. It is best not to lift upwards; instead, peel it as close to the vinyl as possible. Again, you don’t want to rush this process; this is your little project that needs to be perfected!
As you go along, you want to ensure that you are not peeling away any design that needs to remain on the backing paper. So if you have a larger, detailed design that needs to be peeled away, it’s best to work in sections, slice away unwanted vinyl, and use the tool to latch on new pieces to continue weeding.
Doing this prevents the vinyl from catching on and dragging parts of the design, and instead, it leaves the design on the backing paper. It is why using the vinyl squeegee beforehand is a must.
4. Once you only have the design on the backing paper, you would need to apply a transfer tape.
Again, the transfer tape is an adhesive that would require it to be peeled off from its own backing paper, then use the adhesive side to stick onto your vinyl. You would need to cut off only the amount of transfer tape required for the size of your vinyl’s backing paper and the design within it.
Once you have the correct size transfer tape, peel off the transfer tape and apply it to your vinyl. Next, you will need to take your squeegee from left to right, apply pressure and paste the transfer tape to ensure it is adequately stuck to the vinyl.
Effectually this transfers the cut vinyl onto the transfer tape for eventual installation onto your surface. However, before you do that, you must clean the surface to which it will be applied.
5. Clean the surface you wish to install the vinyl on.
It is now essential to prep the surface on which you wish to apply your vinyl. For example, you could use alcohol-wipe on surfaces that won’t wipe off paint or even soap and water depending on the surface.
Cleaning the surface helps remove any residue that may prevent the vinyl from sticking to the surface, and it helps prevent any bubbles during application. Before the next step, ensure that it is completely dry.
6. Remove the vinyl from the backing tape with the transfer tape.
It’s time for the serious part. Moving back to your design with the transfer tape applied to it, you will now need to flip it over (by having the vinyl backing paper-faced upwards) and begin separating the vinyl along with the transfer tape.
The best way to complete this is using a similar method to removing excess vinyl from the design – by gently peeling it away from the surface. Your design will remain connected to the transfer tape as you go along.
If you are beginning to struggle from one end, you may attempt to continue from a different corner, peeling away and continuing from there.
7. Apply your vinyl and transfer tape to the surface you cleaned.
Lightly place your design in the position you need it on your surface. By doing this, you can make slight adjustments to find the sweet spot you want it to be in.
When you have found the perfect placement, paste on your transfer tape with your squeegee onto the surface from side to side and apply pressure as you go along. Then, with an up and down gesture, you simply smooth the adhesive transfer tape and vinyl onto the surface you chose.
8. Peel off your transfer tape, and admire your masterpiece!
From the one corner (again, just like weeding), you will slowly remove the transfer tape, leaving the vinyl stuck on the surface. Again, you would need to be close to the surface, peeling away as you go.
If, by any chance that the vinyl stays stuck to the transfer tape, paste the transfer tape back on the surface, apply a bit more pressure with the squeegee, and try slowly peeling away again.
Once you have entirely removed the transfer tape, take a damp cloth, wipe away any adhesive residue on the surface, and pat yourself on the back! You’ve done it!
Can You Only Use A Computer To Use Design Space?

Although a computer is recommended, you may use a mobile device to access Cricut Design Space, and a Cricut Explore Air machine (iPad, iPhone, and Android devices).
However, because you’ll have more design possibilities in Design Space and your machine has to be close by to cut, I highly recommend utilizing a computer with Cricut Design Space and a Cricut Machine (even if you are using wireless Bluetooth).
Conclusion
The Cricut is a great machine that can let you display your creative imagination on almost any surface you see. The only catch is to do it correctly. As a result of following the detailed guide above, you can be confident that you will create your own unique method and style as you practice and improve your skill.
Understanding the different types of vinyl and what surfaces they can be applied to can help determine what outcome can be achieved. And if you’re new to the Cricut and crafting with vinyl, I highly recommend starting with a simple, easy-to-apply design to get you started.
Bryan E. Robinson is the former owner of TshirtGrowth. He has sold t-shirts since 2006 through dropshipping, screen printing, vinyl printing, DTG, Print on Demand, and more. Bryan has created his own t-shirt designs through Photoshop, Canva, and other platforms, as well as worked with freelancers to create many of his designs. Besides t-shirts, Bryan has over 18 years of experience in online marketing with eCommerce, B2B SaaS, B2C products, and more.

